Paracord Activity Kit Instructions
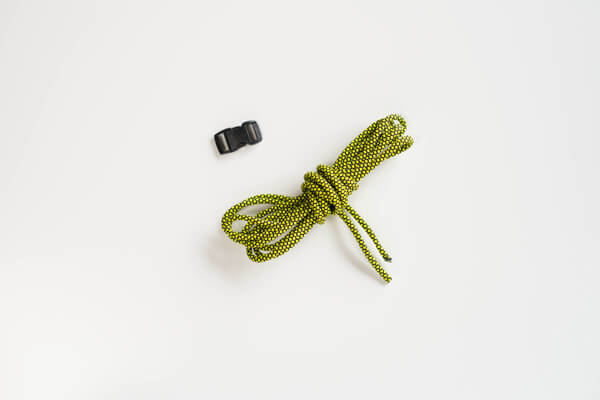
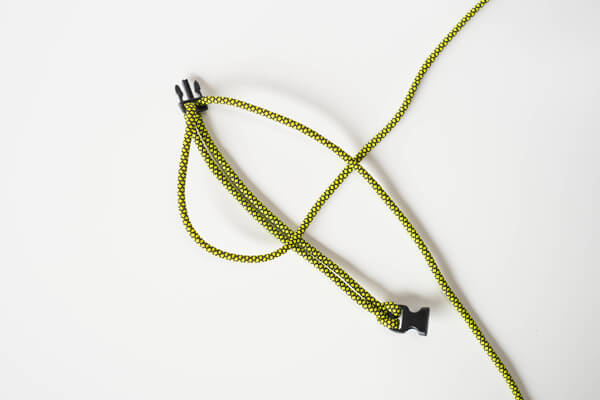
Collect the buckle and pre-cut paracord.
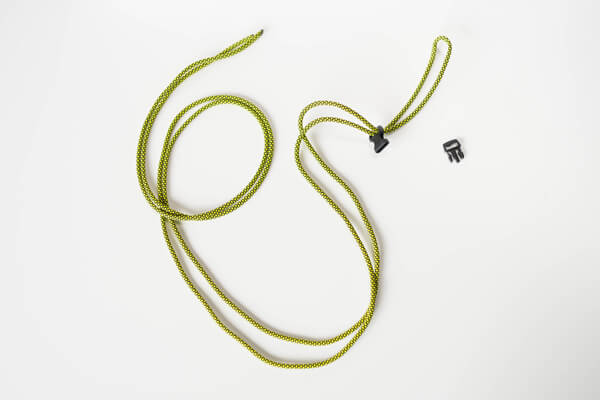
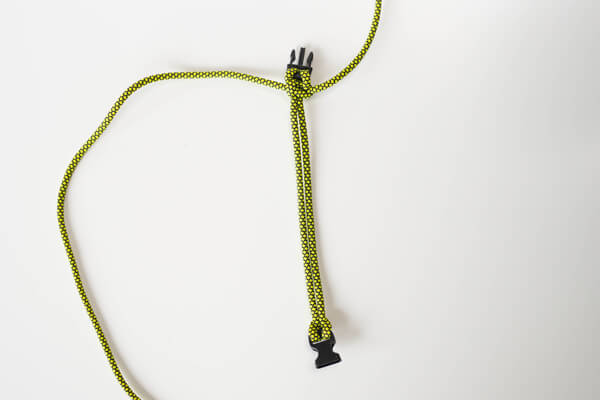
Fold the paracord in half and thread the solid part of the buckle through the bended side of the cord (as shown below)
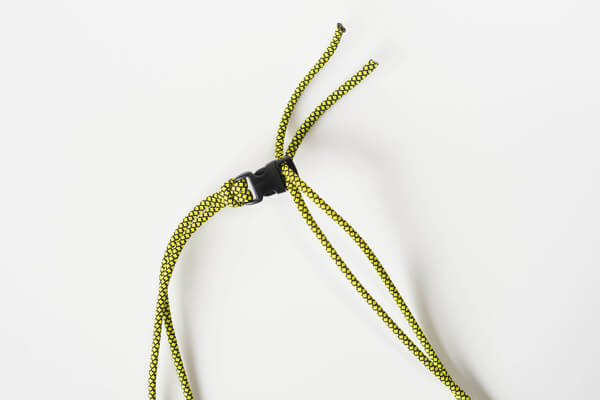
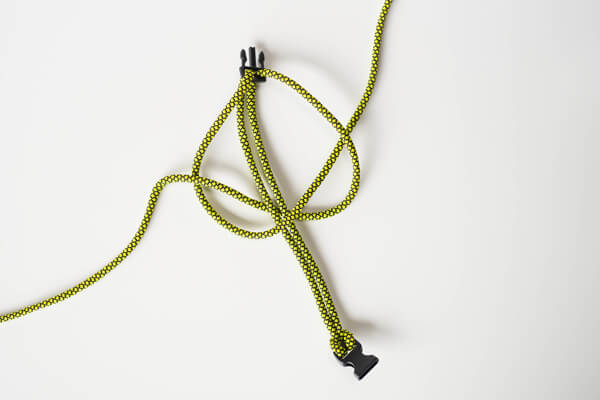
Pull the two ends of the cord through the loop (shown in step 2) to make a secure knot. Then thread the two ends of the cord through the pronged part of the buckle.

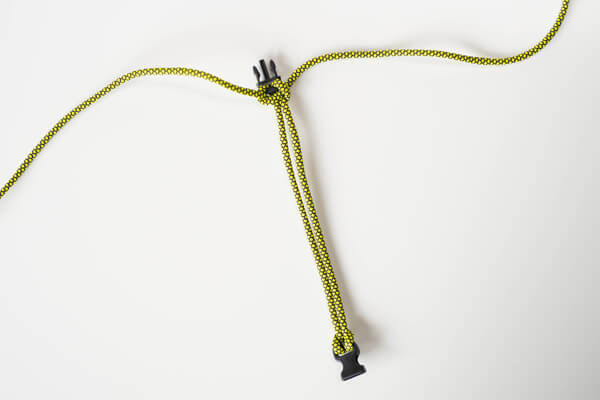
Snap the buckle together.
You’ll now have a bracelet that can be as small or as large as you need. Measure the bracelet on your wrist but make sure it is quite loose.
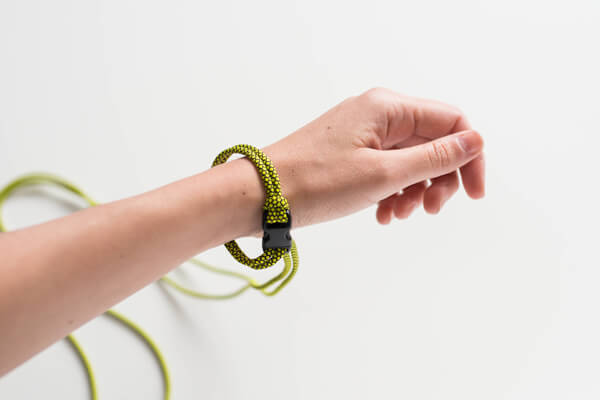
Here is the measured bracelet with the “tails” which will make the knots in the following steps.

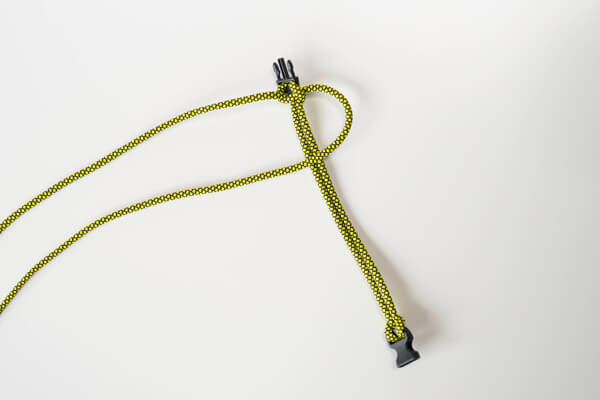
Keep the two middle stationary cords side by side while placing the left tail OVER the cords and UNDER the right tail (as shown below).
Now place the right tail UNDER the stationary cords and OVER the left tail.
Pull tight to make the first knot.
You are going to keep this pattern going, alternating sides. (You can see below that now the right tail is going OVER the stationary cords and UNDER the left tail.)


© 2026 Jonathan Park. All Rights Reserved